
I was a little nervous to jump into this pattern. I haven’t used a commercial pattern in over ten years, and the fabric I had my heart set on was a rayon challis, which doesn’t have a reputation for being super easy to work with. It’s very fluid and tends to shift all over the place when cutting and sewing.
But I did it anyway, and I’m happy to report that both the pattern and the fabric were less daunting than I expected.
My original inspiration was a dress I’d seen on Modcloth.
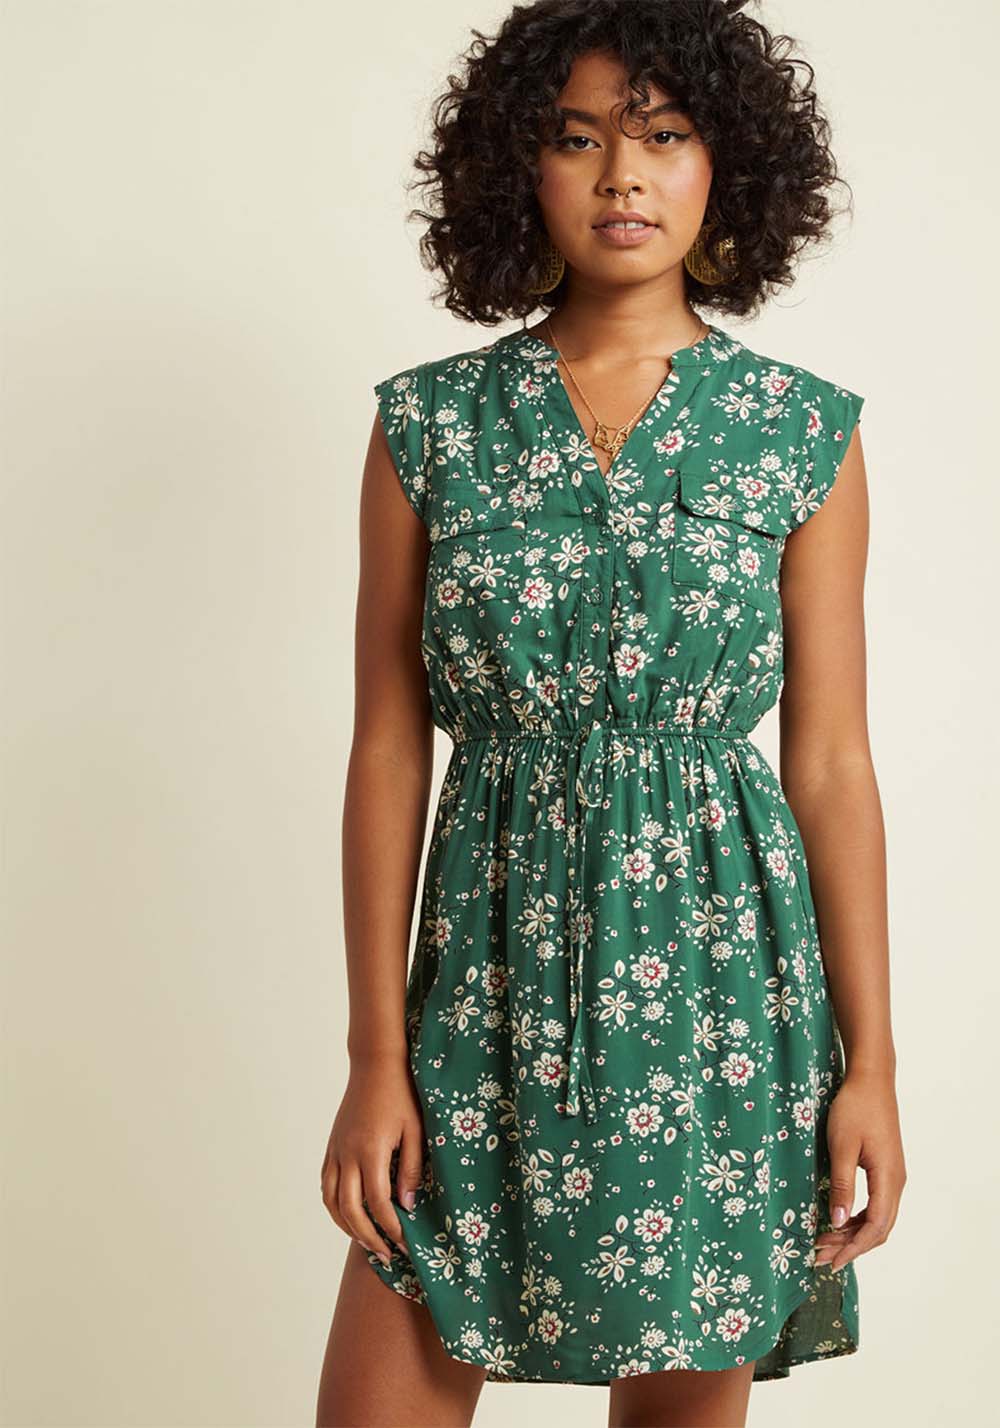
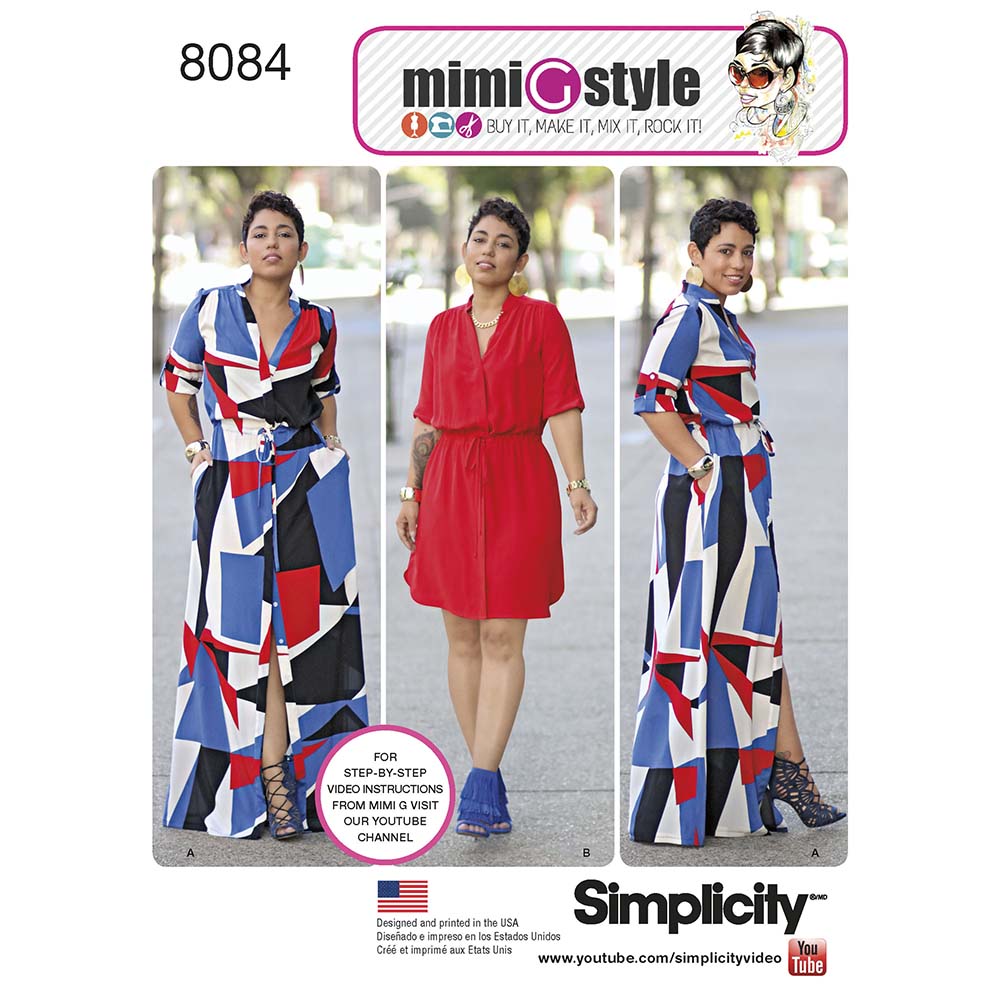
When I found this Simplicity pattern, I thought it seemed pretty close. It has sleeves (though I still have plans to make a modified sleeveless version, at some point) and the placket goes all the way to the hem, but other than that, it’s pretty darn close.
The only thing I wasn’t wild about with the Simplicity pattern was the amount of poofiness happening over the drawstring waist. But I figured that could be easily solved by sizing the dress down and moving the drawstring up a few inches.
FIVE THINGS I LEARNED MAKING THIS DRESS
1. If you’re unsure about a pattern, or if you plan to make major modifications, make a muslin.
The fabric I really wanted to use was like twenty-something bucks a yard. (FYI: the fabric is Cotton + Steel Les Fleurs in eggplant, which is now about half expensive on Fabric.com compared to when I made my dress.) That’s more than I’ve pretty much ever spent per yard on any fabric. I didn’t have the balls to dive in head-first on fabric that expensive, so one of the smarter things I did was make a muslin, which is something I was always too lazy to do in the past.

I was actually having a hard time deciding between making a floral dress and a solid colored dress. I really wanted an army green utility dress. But I also wanted a pretty floral dress like the ModCloth one. So I found some cheap army green challis (like $4 a yard compared to the bonkers price of the Cotton + Steel fabric) and decided I’d make the muslin out of something I would actually wear. If everything went well, I’d end up with both dresses I wanted.

Modifications I made:
- sized down two sizes
- raised the drawstring waist 2-3 inches to account for lack of poof
- added chest pockets and shoulder button tabs
- purple floral version hem is shortened about 3 inches (Not sure how I feel about that now. In photos, I think I like the length of the green better. But when I’m wearing it, it feels oddly long. It might be that I should have left off the bottom-most button on the green one.)
2. Rayon challis is dreamy AF
Challis has the look of a cotton woven, but it’s got a silky hand and fluid drape. I kind of want an entire wardrobe made out of the stuff now. Even if it is a little tricky to deal with.
I spent the better part of my career as a designer and seamstress using knits, which many experienced sewists fear like angry bees. I was always perplexed by this, because knits don’t seem that hard to work with, as long as you handle them right. And the easiest way I can summarize how to “handle” knit fabrics is that you can’t boss them around. You can’t go yanking a seam through the sewing machine, or it’ll go wobbly. If you handle the raw cut edge of jersey a little too much, it starts to roll up on itself. You have to be gentle.
So I had a bit of an epiphany. Maybe the key to working with all “problem fabrics” is to be gentle. No forcing or pulling or smushing when things shouldn’t be forced, pulled, or smushed.
That’s how I approached the challis. I think the most challenging part is when you’re cutting. It tends to flutter and flounce all over the work surface. Keeping the grainline straight while cutting can be an exercise in patience. Just go slow and make sure you readjust after each piece to make sure the fabric is laying as straight as possible.
When it comes to sewing, I found that pinning was key. I know a lot of my own patterns well enough that I can get away with very few pins, but I knew that wasn’t going to work here. The cut edge of the challis is like a wriggling worm. It’s best to pin while laying flat, and don’t be afraid to use a LOT of pins.
3. The more expensive fabric is more expensive for a reason
My two fabrics are both 100% rayon challis. They should be really similar, right?
Wrong.
The green stuff is much lighter (not quite see-through, but almost) and not as smooth or crisp-looking as the expensive stuff, which I think is a lower thread count issue. It also wrinkles much easier.
The difference is enough that if you saw the two dresses side by side, you probably wouldn’t think they were the same type of fabric. It was enough to convince me that, “Wow, sometimes $20/yard fabric is $20/yard for a reason.”
4. Buttonholes are a pain in the ass
So. Many. Buttons. And I did them all “manually,” as in, I wasn’t using a buttonhole attachment. (I have yet to figure out how to work one of those contraptions.)
I think there are 16 buttonholes on each dress. It will be a while before I want to do more buttonholes.
5. Hem facings rule
I followed the pattern’s instructions for hemming the green dress, which is basically just a narrow double fold hem. If the hem was a straight line, it probably would have been fine, but it has these rounded portions at the side seams that mimic the bottom of a shirt hem. Oh, how I hate double fold hems on curves. They never lay right. And with a fabric like challis? Forget it.
So on the purple dress, I did a faced hem. It turned out so much better. At some point, I’ll need to redo the green dress’ hem, because the wonkiness bugs me. And I’ll be sticking with facings for any problematic hemlines in my future.
MY OVERALL THOUGHTS ON THE PATTERN
I have no real complaints. It’s straight-forward, and the modifications I made were based on personal preference and a particular look I was going for (versus making corrections on a bad pattern). If you want a dress just like the one on the front of the pattern, you should have no issues.
It’s a very comfortable design, and even with the two style options offered (long and short), it’s versatile enough that you can make two different dresses from one pattern without it looking like two of the exact same dress. I think it already made a huge difference to do it in a print versus a solid.
If you have the ability to make minor modifications (like changing the sleeve length to long or short or omitting the sleeves altogether), I think you could easily get 3 or 4 very different dresses from the one pattern. Not only does that offer a lot of value, but it’s always easier to put a dress together when you’ve gone through the pattern once before.
WILL I MAKE IT AGAIN?
Yep. I already have my eye on some prints for a sleeveless version. I was on the fence about attempting a full-length version for a while. I tend to go with short and knee-length dresses that I wear over leggings or tights. But after seeing this dress from SilkFred, I’m pretty pumped at the possibility of a full-length version in a dark blue print.
